
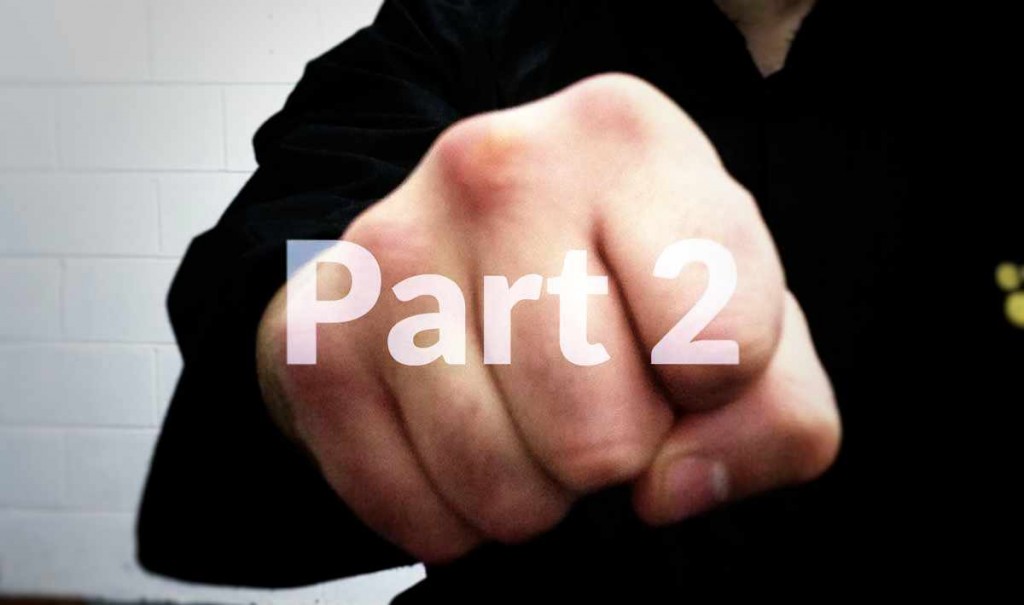
Body Mechanics 1 – Basics of The Reverse Punch! Part 2
This article follows on from Body Mechanics 1 – Basics of The Reverse Punch.
Key Points On Reverse Punch
Lets start with the stance.
Without a steady ‘rooted’ stance you won’t be able to maximise your power – imagine punching someone whilst on roller skates!
Never lock out your legs, even in extreme ‘training stances’.
If either leg is locked out then you can’t generate force or move quickly or take impact!
All joints should always be rounded to pass on the power of the strike (forward kinaesthetics), and to be able to cope with ‘recoil’ from the strike (backwards kinaesthetics).
You also need to be able to move, and move quickly. You should always be balanced and able to move in any direction without first shifting the weight.
Both knees should be pointing in the same direction as the toes to avoid ankle/knee/hip rotator damage. The back foot should be turned less then 45 degrees out, any more then this and it is hard to drive from the back leg.
In short (shoulder width) stances pull the knees from the inner leg muscles, in wider stances (double shoulder width or wider) push then out so the knees always maintain integrity. You should feel ready to move and the legs should feel ‘ready’ as if you were playing a reactive sport like squash or dodge someone about to throw a brick.
Many Kung Fu guys stand ‘dead’ in training then think that stances aren’t useable in fighting.
The weight should be across the whole foot but centred medial to the ball of the foot (in the ‘Bubbling Well’ points).
Do not sit on your heels (your brakes).
When hitting with the back hand the back foot should feel like it is screwing into the ground. The enables you to generate force without shifting your weight (which may be used by your opponent).
The Hips should slightly tuck under to less the arch of the lower back, this should not be overdone but just enough to feel the weight of the upper body sink into the stance.
Next let's look at the torso:
The Back should be lightly straightened, pull up your head as if someone is lifting you with your ears.
Most styles turn the abdomen (dantien) and/or waist to generate the strike (‘it starts in the waist goes down to the feet comes out in the hands’) and a straight back transfers gyroscopic force.
The idea is to have the waist create a small circle inside the limbs (that will bounce back from a rooted leg) this way the force spirals round the body travelling a large distance and creating great power without instability of the bodies mass – however this is something to aim for, not something to worry about in the first few weeks! Just as a spinning wheels centre only has to move a millimetre to spin the outside 10cm so a relatively straight spine turned rapidly creates power and speed transferred through relaxed arms.
Most commonly the belly button turns from 35 degrees(ish!) to pointing towards the front knee to generate the punch but different styles have different methods to suit their tactics, the important bit is the body motion creates the strike from start to finish, the arm just enables its transference (body method or ‘shen fa’) and so any unnecessary tension in the arm stops the punch – it doesn’t make it stronger. This is like the arms are large calligraphy brushes attached to the body and you must develop the ability to draw with them.
Make sure the chest is relaxed and not sticking out like a soldier's barrel chest as this throws the shoulders too far back and hinders the transference of power.
With the arms, as I mentioned before, minimise the use of the biceps and triceps. The elbow joint shouldn’t flex much. The arms aren’t very strong and should be used to ‘pass on’ power rather than to generate it. Also extending and contracting them leaves them too vulnerable to joint locks.
From the chambered position to the final position of the punch the elbow should support the fist. Many people let the elbows out in the starting position as if they are doing the birdie song, they must be pulled back. If the chambered hand is higher as in some southern systems you must pull the elbow further back and twist the fist even further. If you cannot do this then chamber lower whilst learning – there is no point in place the limbs in the right shape if the body cannot be linked or generate it. This higher chambering is to enable more focus on the opening and closing the scapulas which will come with time.
If the elbow is out and not supporting the fist at any point in the motion one cannot punch from the body. If you hired a joiner and he used a saw with his elbow riding out as he sawed you may think you had employed the wrong chap.
The punch must strike in line with the centre of your body as this maximises the mass behind it and minimises the recoil into the shoulder.
The elbow must still be bent, again do not lock out, otherwise you are hitting your own elbow. The Elbow must also be pointing down and during the strike aim for it to continually lie between the shoulder and the hand (this is logically the strongest position for it to pass on force straight from the core).
This means most of us won’t be able to turn the arm over fully, just about three quarters of the way.
The twist in the punch is made to generate force through a spike of speed so most of the twist should occur on the end of the punch (the impact point).
The twist should come through the tip of the shoulder not happen locally in the elbow otherwise the ‘small circle’ cannot link to the rest of the body, this is a common error.
The non-striking hand pulls back just a strongly as the other goes out. You are trying to get the body to move as a unit. If you throw a stone strongly with your right hand you will naturally pull the other hand back. Naturally, when hitting we tend to over focus on the striking limb. A good corrective is by focussing on the pull back, one good visualisation is to imagine you are pulling a rope which goes round a pulley and pulls forward are striking hand. If the striking hand doesn’t move in unison with the hand pulling back there is a tendency to only use the striking side of the body to generate force.
Of course in self-defence and sparring the hand won’t come back unless we have grabbed the opponent (‘hand does not come back empty’) or are yielding to a strike, but by training this way and learning to move the limbs in external harmony we beginning to develop internal connections which may then be maintained through the developed ‘internal body feel’ despite changes in the outer shape.
The wrist joint must be straight (a few styles have a slight downward bend when striking targets on the face like the philtrum). The fist should be made little finger first, get used to doing this fast. Try it and you’ll feel if you curl the little finger first it tends to shape the knuckles better.
Some styles strike with the prominent (first) two knuckles some with the centre of the fist. This is specific to your style but make micro adjustments to your joints to support the striking surface.
If you use any ‘exotic’ fists like phoenix or dragon head you should be taught appropriate conditioning.
If you cannot hit a heavy back with full force with a fist formation do not try to use it in self defence.
When taught correctly these structural lessons are reinforced with things like the striking post (‘DaZhang’, Makiwara in Karate), candle punching and other special training methods, and are prepared for combat step by step through progressive drills.
I hope this article has given you a few ideas on things to look for in your reverse punch look out for the next in the series.
Chris
Responses